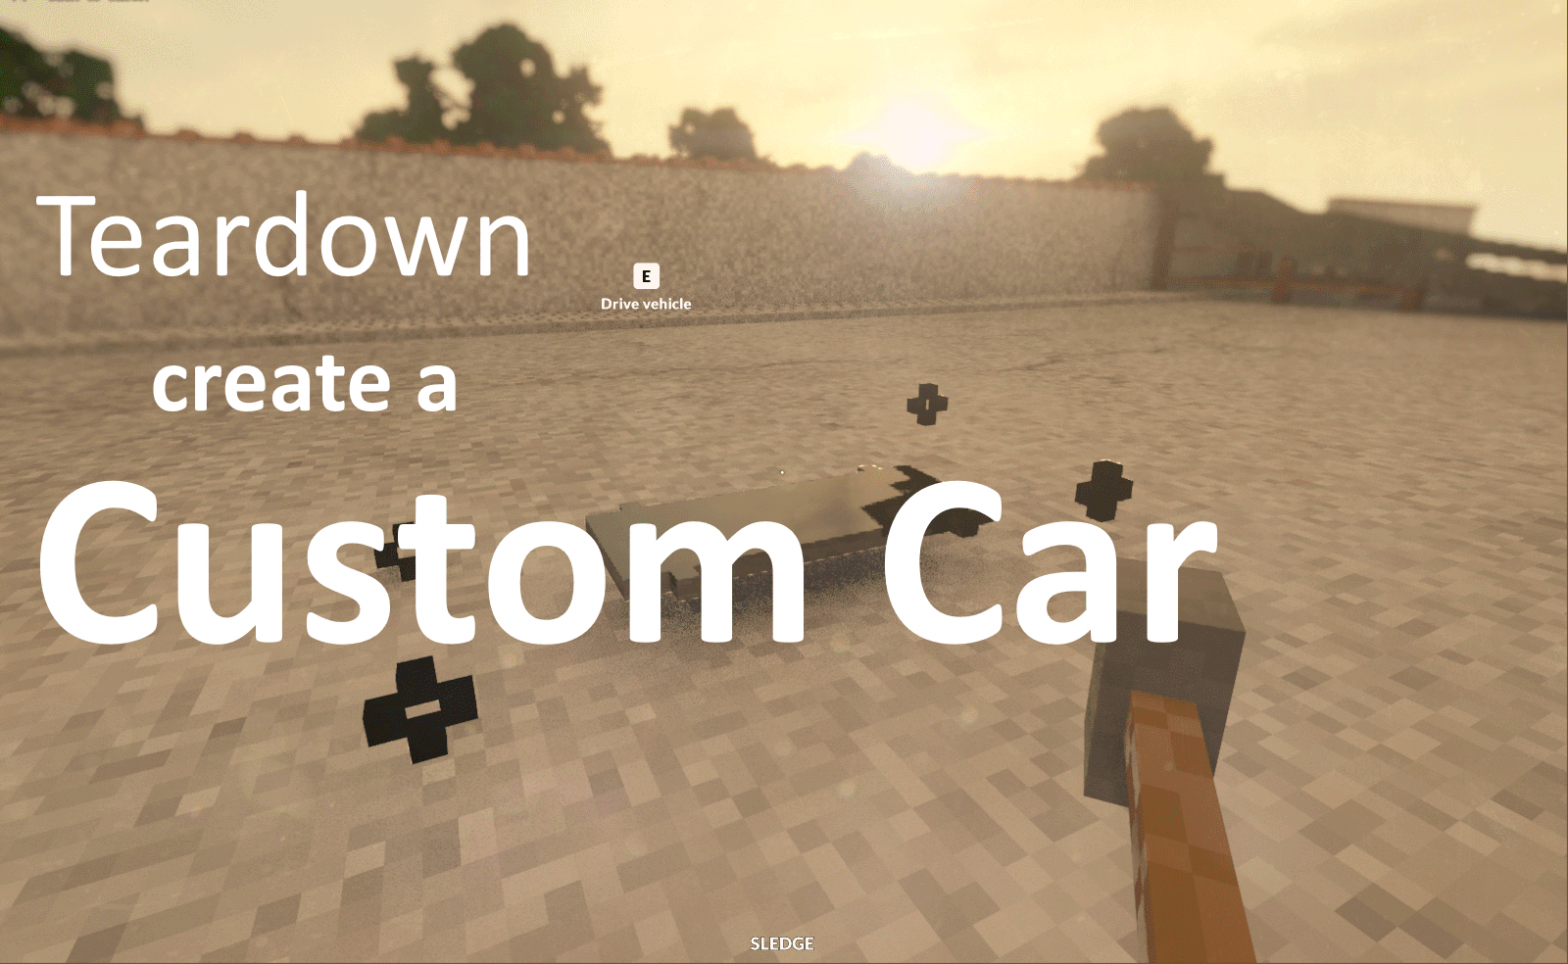
This is a guide to create a custom car in the game called Teardown. This guide was initially written for Teardown version 0.6.2. Things may have changed. Please let me know in the comments and I’ll update the guide.
This is part I of III in which I explain the basics of creating a custom car. In part II I’ll explain predefined tags which can be used for cars. Finally in part III I’ll explain how to handle custom input and custom sounds for a car.
Prerequisites
- A copy of Teardown.
- A copy of the free software MagicaVoxel. Any software can be used which can create *.vox files.
Custom car modelling
The first thing is to create a car model. The most basic car needs at least two elements: a car body and wheels.
Download the Teardown color palette vox file to start your car from here. Open this file using MagicaVoxel and create something like this:

- Vehicle body size: 20 10 1
- Wheel size: 3 1 3
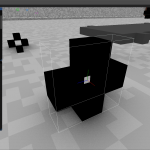
Car set-up
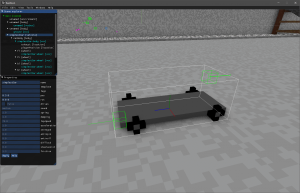
When you first set-up your car in a maps XML file you may end up with something like this:

The car’s body and wheels don’t match. Usually I copy my car template and paste it in the map’s XML file. Alternatively you can do that in the built-in Teardown Editor as well.
<vehicle name="simplestCar" pos="0.0 0.3 0.0" rot="0 0 0">
  <body name="carBody" pos="0.0 0.0 0.0" rot="0 0 0" dynamic="true">
    <vox pos="0.0 0.0 0.0" rot="0 -90 0" density="1.2" strength="2" file="LEVEL/simplestCar.vox" object="body">
      <location name="playerPosition" tags="player"  pos="-0.8 0.2 -0.0" rot="0.0 90.0 0.0"/>
      <location name="smokeExhaust"   tags="exhaust" pos="1.0 0.1 -0.3"  rot="0.0 -90.0 0.0"/>
    </vox>
    <wheel name="fl" pos="0.45 0.05 -0.75" drive="1" steer="1" travel="-0.1 0.2">
      <vox pos="0.05 -0.15 0.05" rot="0.0 90.0 0.0" file="LEVEL/simplestCar.vox" object="wheel"/>
    </wheel>
    <wheel name="fr" pos="-0.45 0.05 -0.75" drive="1" steer="1" travel="-0.1 0.2">
      <vox pos="0.05 -0.15 0.05" rot="0.0 90.0 0.0" file="LEVEL/simplestCar.vox" object="wheel"/>
    </wheel>
    <wheel name="bl" pos="0.45 0.05 0.75" drive="1" travel="-0.1 0.2">
      <vox pos="0.05 -0.15 0.05" rot="0.0 90.0 0.0" file="LEVEL/simplestCar.vox" object="wheel"/>
    </wheel>
    <wheel name="br" pos="-0.45 0.05 0.75" drive="1" travel="-0.1 0.2">
      <vox pos="0.05 -0.15 0.05" rot="0.0 90.0 0.0" file="LEVEL/simplestCar.vox" object="wheel"/>
    </wheel>
  </body>
</vehicle>
Note that you have to load the separate objects from the vox file. Here the car’s vox file is named „simplestCar.vox“ and the two objects are „body“ and „wheel“ (see MagicaVoxel screenshot as well).
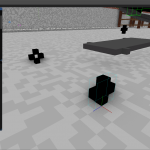
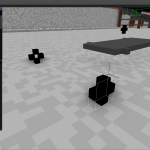
Center wheels
The probably most misunderstood task on a car set-up is how to center the wheels. Since every wheel needs to be enclosed with a wheel tag (or just wheel in the editor) the inner vox must be centered in the wheel tag. This can be done by adjusting the position parameter for the inner vox.
 |  |  |
Other required tags
Other than the wheels, a car is required to have the following location tags to work in Teardown: none 😉
After some tests I conclude there are no location tags required at all in order for a car to be driven. Of course it makes sense to go through the available tags to get some more control over some stuff.
The players position
The player position can be set using the „player“ tag.
// <location tags=“player“ …
It’s the position and rotation of the camera when the player drives the custom car in Teardown. There can be multiple location nodes with a „player“ tag. But it doesn’t make sense to have multiple ones and Teardown will just take the latest one as the players location.
The smoke exhaust
The (smoke) exhaust location tag is where smoke will emit once the car is driven by the player. It can have multiple such nodes.
// <location tags=“exhaust“ …
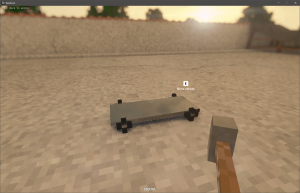
Finished result
If you have followed this guide you should get this result:
This is it, for the first part of this guide. In the next part we will have a look at car tags.
More interesting details about Teardown:
Teardown FAQ
2 Kommentare